What's new in CLZ Comics Web? (page 3)
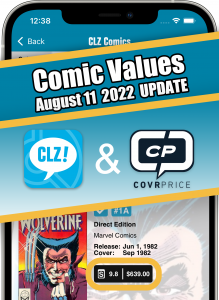 September is getting closer, so time for an update about our upcoming collaboration with CovrPrice for comic values. But first, a quick summary:
CLZ / CovrPrice: What’s it all about?
CLZ and CovrPrice are going to work together, which will give you comic values from CovrPrice (for both raw and graded comics), right there in your favorite CLZ comic cataloging tool (CLZ Comics, Comic Connect or Comic Collector).
To get access to these comic values from CovrPrice, you will need a subscription to the CovrPrice “Premium” plan, which is US $6.95 per month or, when paid yearly, US $60 per year ($5/month).
You will also need an active subscription to your CLZ app or software. A grandfathered account will not suffice.
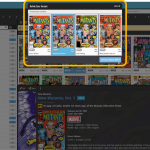 In today’s update for your Comic Connect software, one new feature and some further tweaks to the new Vertical Card View (based on your feedback):
- Relink Core Variant: easily link your local entry to a different variant in Core
- Improved Vertical Card View: now including Grade/Value and Collection Status
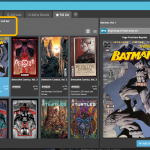 Based on lots of feedback from members of the CLZ Comics group on Facebook, we decided to completely re-design and rewrite the Pull List feature.
This re-designed Pull List tool was already released for the CLZ Comics mobile app a few weeks ago. Today, the new design has also been released for your Comic Connect software, expanding it into a fully flexible way to browse recent and upcoming comic releases.
Here’s an overview of all the improvements:
- View releases per week
- List releases in series folders or as one “flat list”
- New “My Series” tab: view releases for your existing series
- New “Discover” tab: browse ALL recent and upcoming releases!
- Easier adding of series to your Pull List
- Easily open the full issue list for any series
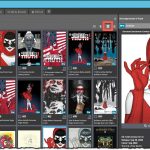 For this update, the main goal was to make the cover images in the Add Comics screen bigger, to make it easier to find the issue or variant that you own.
However, while working on that, we ran into some other things that could be improved, so we figured why not? So in the end, it turned out be a serious overhaul of the Add Comics screen 🙂
Here’s an overview of all the improvements:
- Bigger cover images in the Issue List
- The Issue List for a series now opens in a separate page
- Preview Page now also shows a bigger cover image
- And finally: the Add Comics screen is now a lot bigger!
 Recently introduced in the CLZ mobile apps and instantly very popular, so now available in all five Connect flavors too: the Card View.
(And… because Connect already had a view called “Card View”, we renamed the old view to “Horizontal Cards” and named the new one “Vertical Cards” here.)
Here’s how to switch to new “Vertical Cards” view: on the toolbar above your collection list, click the 2nd button from the left, called “Vertical Cards”.
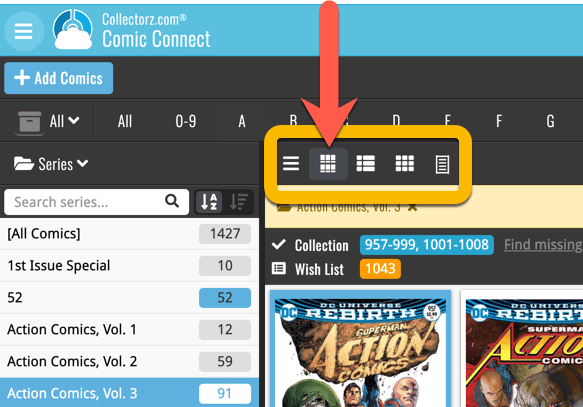
Check out the screenshots below:
 A big update for your Connect software today, with several cool new features and some smaller tweaks, all in one go:
- Easily add cover images by pasting into the Edit Screen’s Covers tab
- New Month and Date folder options for all date fields
- Improved Update from Core tool
- “Move to Other Collection” now possible from details panel toolbar
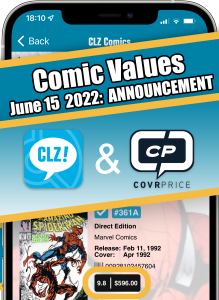 Great news for all users of our comic cataloging tools:
We can finally reveal which 3rd party we are going to work with for the upcoming solutions for comic values!
We are proud and excited to announce that our new partner for comic values is….:
>> COVRPRICE !!!
Yes, CLZ and COVRPRICE are going to work together, to provide you with the internet’s most reliable and up-to-date comic values, right there in your favorite comic cataloging tool!
This also means we can finally answer your most common questions:
- Will it only provide values for graded comics or for raw comics too?
- What will it cost?
- ETA???
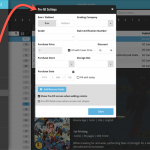 One of the most popular features we added to the Comic Connect in the past few years is the Pre-fill screen. You know, the screen that pops up when adding new comics from Core and lets you “pre-fill” some fields for the new additions, right there and then. Without having to go back and edit the entries afterwards. A big time-saver for most users.
The set of fields that is available on the Pre-fill screen has always been fixed, limited to Storage Box, Owner, Purchase Date/Store/Price, Quantity, Grade, Grading Company, Raw/Slabbed and Tags.
However, after the release of this feature, we instantly started getting requests for more fields to be added to the Pre-fill screen. Which makes sense, I mean, if you always fill in a field that is not on the Pre-fill screen, you would have to “edit after adding” anyway, rendering the entire Pre-fill screen useless…
So today we are taking the Pre-fill feature to the next level by making the screen completely user-configurable. That is, to allow you to choose your own Pre-fill fields!
And while we were at it, we made some other related improvements. Here’s what’s new today:
- User-configurable Pre-fill screen: choose your own fields
- Pre-fill: new for personal Date fields: Fill with “Today”
- Pre-fill: new for Purchase Price: Use “Cover Price” minus your discount percentage.
- The Pre-fill screen is now also used to set field defaults
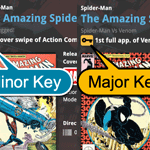 The “Automatic key comic info” feature, introduced early November, has proven to be enormously popular… BUT it is also easily THE most controversial feature that we have ever introduced to any of our software titles!
Most users are loving the extra little trivia about their comics. But others are annoyed by too many comics being “key” for reasons that are not important enough in their opinion.
Soo… let’s see if we can improve this feature, so that we can remove most of the annoyance and make it useful for a larger part of our audience.
Today, we introduce the following improvements to the key comics feature:
- Distinction between Minor Keys (blue icon) and Major Keys (yellow icon)
- New “Key Category” field, automatically delivered from Core, e.g. “First appearance”, “Death”, “Cameo appearance”, “Iconic cover”, etc..
- New “Update Key Info” tool in the CLZ Core, that is fully configurable (Minor/Major Keys, Allow Overwrite/Clear). No more need to use Update from Core.
- Key icons now also show in issue lists in Add Comics screen.
- New charts in Statistics screen, for Key Comics and Key Category.
New “Add from Core” settings: select which fields you want to download from Core
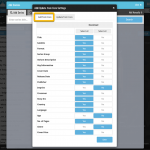 In today’s update we’re introducing new Add from Core settings screen, that lets you configure exactly which fields you want to download when adding new books.
While we are at it, we also tweaked the UI of the existing Update from Core settings and… we combined the two into ONE screens, with Add from Core / Update from Core tabs at top.
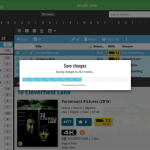 A nice update for all five Connect flavors today, in which we’ve added new progress bars to all actions in the software that can take a while.
(In the past, the software would just show a rotating symbol, not giving you any indication of actual progress or how long it could still take.)
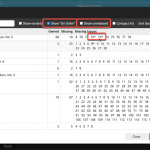 After the huge update for Comic Connect on Monday, I have another one for you, an improved Missing Comics screen. After we introduced the Missing Comics screen, about a year ago, we kept receiving the same two complaints from you all:
- It should not list my “On Order” comics as missing !!
- It should not list unreleased issues as missing !!
Both very good points, so with today’s update we are introducing 2 new settings.
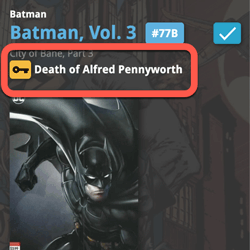 A huge update for your Comic Connect software is now live in your account, with one big new feature (key comic info!), many new fields and several improvements to existing features. All in one go and all based on your feedback!
New today:
- NEW: Automatic key comic information from Core!
- Many new fields (Sold date/price, Series Completed, Slab Cert Nr, Bag/Board date)
- Add Comics: new toggle for hiding Variants
- New Collection Status icons and colors
- Update Card View, now showing Quantity and Slab & Key icons
- Your Pull List now syncs between devices and software platforms
Our agreement with GoCollect has ended, so in this update we have removed all GoCollect-related features.
Which means no more automatic comic values when you add comics and no more daily updates for values.
We fully understand this is a shock and a disappointment for you all. Trust me, we are very disappointed too, maybe even more so than you are. In any case, we sincerely apologize for this sudden loss of functionality.
 We’re on a roll with the Connect development, so today we can release two new features for your Connect software:
- Search your collection by barcode, using CLZ Barry
- Set your CLZ Cloud Visibility per collection
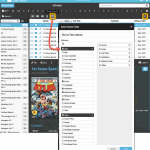 We have finally been able to free up web-developer Stijn from several long running “back-end” projects, so he is making good progress on all kinds of smaller Comic Connect improvements.
In today’s update, 3 nice additions / tweaks:
- Easier user interface for Columns and Sorting
- Remove/Restore the automatic Core images for Front and Back
- More fields available in Field Defaults
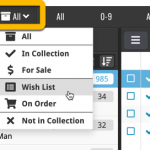 Today, we have updated your Comic Connect software for you, with two nice improvements in one go:
- Enhanced Collection Status filter, now including On Order, For Sale, etc..
- A new Update from Core tool
New in your Comic Connect software: add web-site links to your movie entries, using the new “Links” tab of the Edit Comic screen.
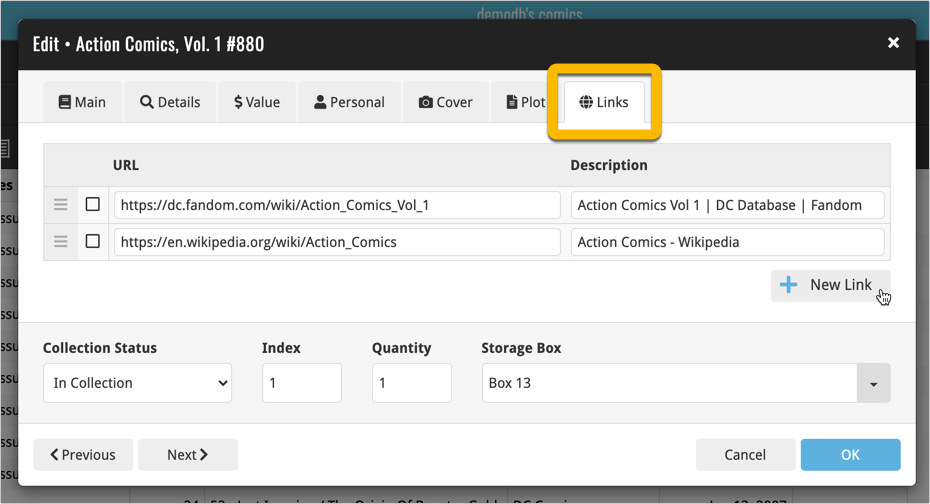
Tip: paste a website link in the URL box and the description will be filled in automatically.
With so many users switching from the desktop software to the Connect web-based software, we are getting a lot of useful feedback about the things they are missing, or would like to see in Connect.
Today, a small update with 3 new settings to save screen space in the main screen:
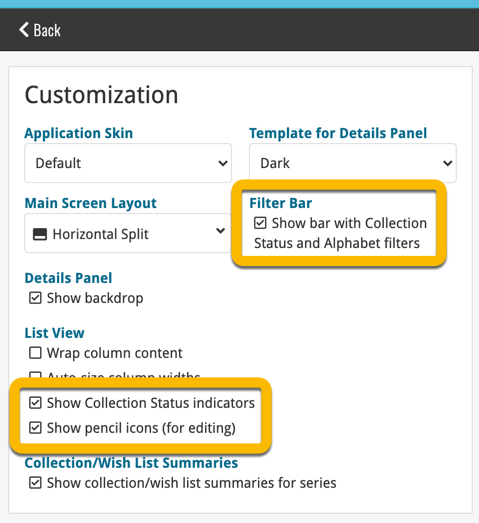
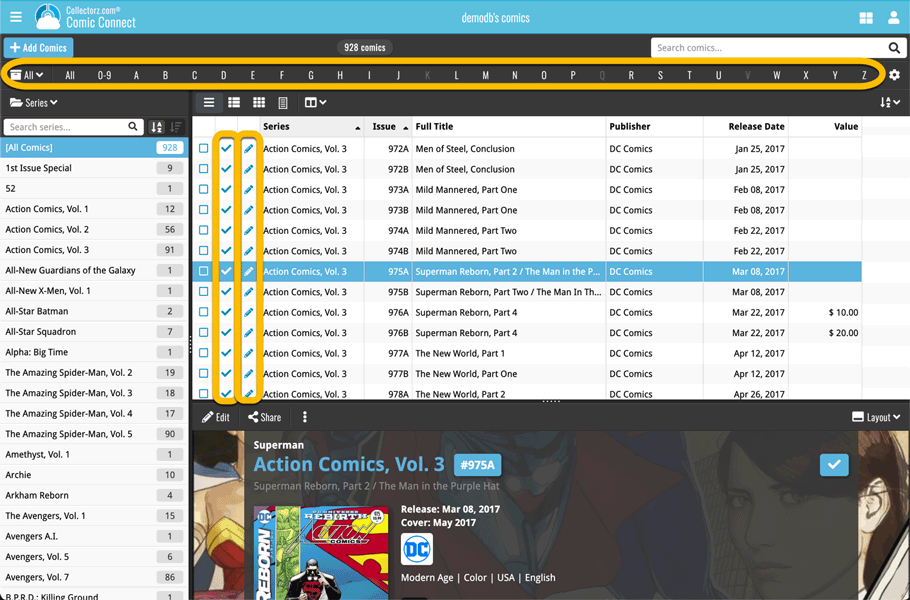
- Show Filter Bar: uncheck this setting to hide the bar at the top with the Collection Status filter and the Alphabet Bar, giving you quite a bit more vertical screen space for your list.
- Show Collection Status indicators: uncheck this to remove the column with the status icons from your List View, giving you more horizontal room for your columns.
- Show pencil icons (for editing): uncheck this to remove the column with the pencil (edit) icons from your List View, again giving you more horizontal list space.
Oh and BTW: we also took this opportunity to complete re-think the layout of the Settings screen, to make the grouping of settings more logical. I recommend to take a good look again, maybe you will find some useful settings you never knew existed 🙂
Long overdue, but it is finally here: you can now select your own currency for all value and price fields in Comic Connect.
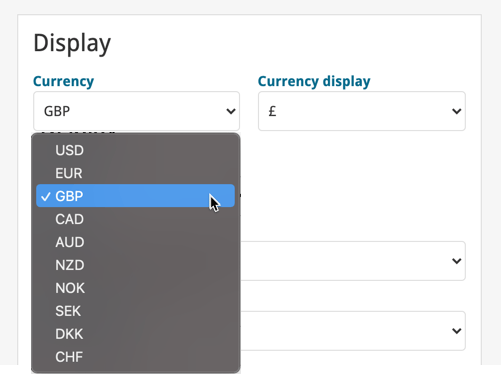
Find the new currency settings in your Settings screen. Under Currency, choose your desired currency.
Choose from USD, EUR, GBP, CAD, AUD, NZD, CHF, NOK, SEK or DKK. Then use the Currency display setting to customize how prices and values will be displayed.
Another nice update for your Comic Connect software.
Updated Pre-fill screen that pops up when adding comics
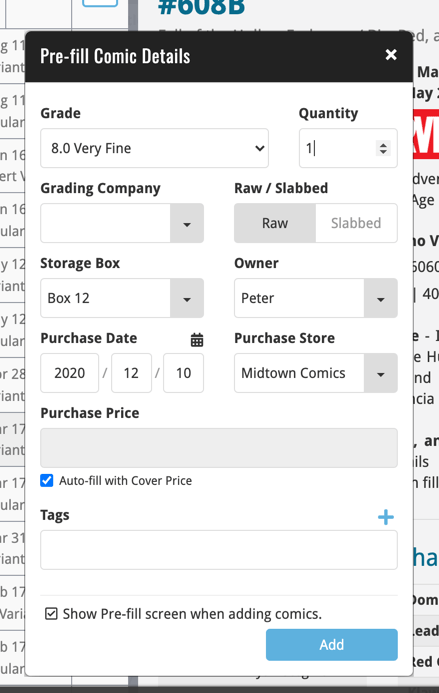
When adding a comic to your database using the Add Comics screen, it always shows the Quick-Fill popup, for quickly pre-filling some fields for the added comics.
This pop-up has been renamed to “Pre-fill comic details”, now has a new layout and contains 4 extra fields you can pre-fill!
Fields available in the Pre-fill screen:
- Grade
- Quantity
- Grading Company (New!)
- Raw / Slabbed (New!)
- Storage Box
- Owner (New!)
- Purchase Date
- Purchase Store
- Purchase Price
- Tags (New!)
Today we are responding to request that we have been hearing from many years:
Is there any way I can find which comics I am MISSING for my series
Definitely not an easy feature to implement, because the first question immediately is “what about variants?”. If you own issue 13A, do you regard issue 13B, 13C and 13D as missing or not?
So our UI/US designed AJ and I (Alwin) sat down to design a flexible “Missing Comics” screen that gives you full flexibility to conjure up the missing comics list you are looking for.
Based on our ideas, web-developer Sven created a super-fast search engine on our servers, that can instantly return issue number lists for any series. Still not sure how he made it this fast, but you’ll definitely love the speed of this too.
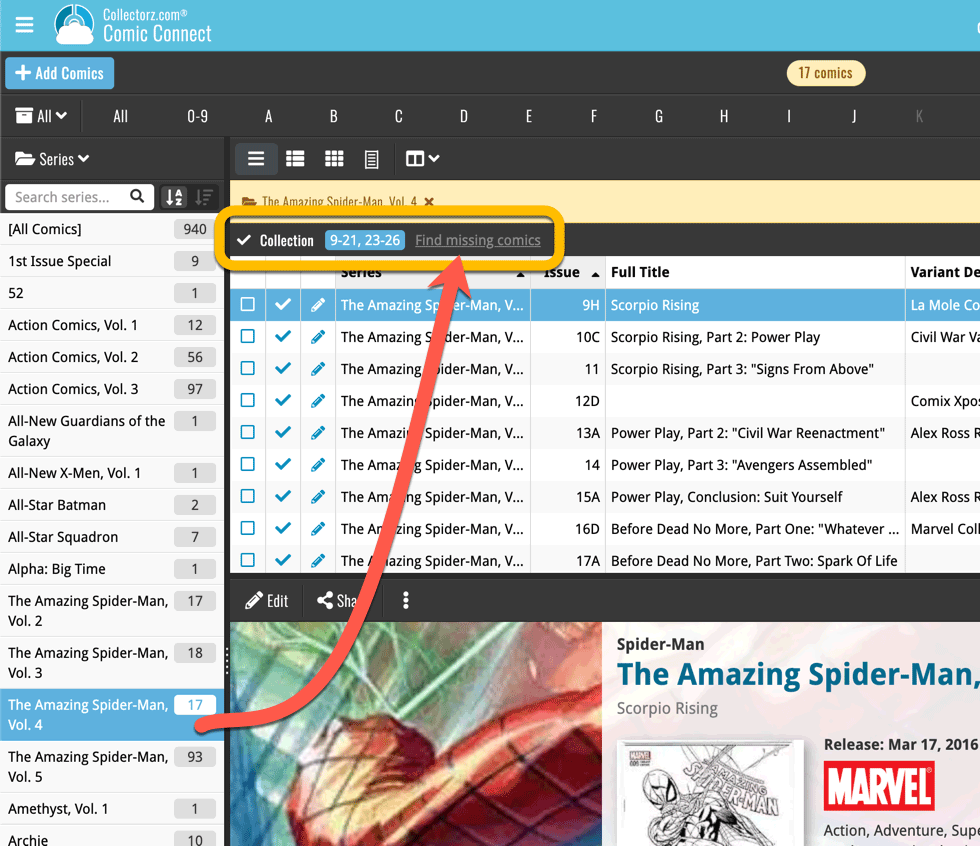
Then after that, Sven created the new Missing Comics tool that you can now find in the Tools menu of version 21. Alternatively, open it from the “Find missing comics” link next to you Have list at the top of your issue list.
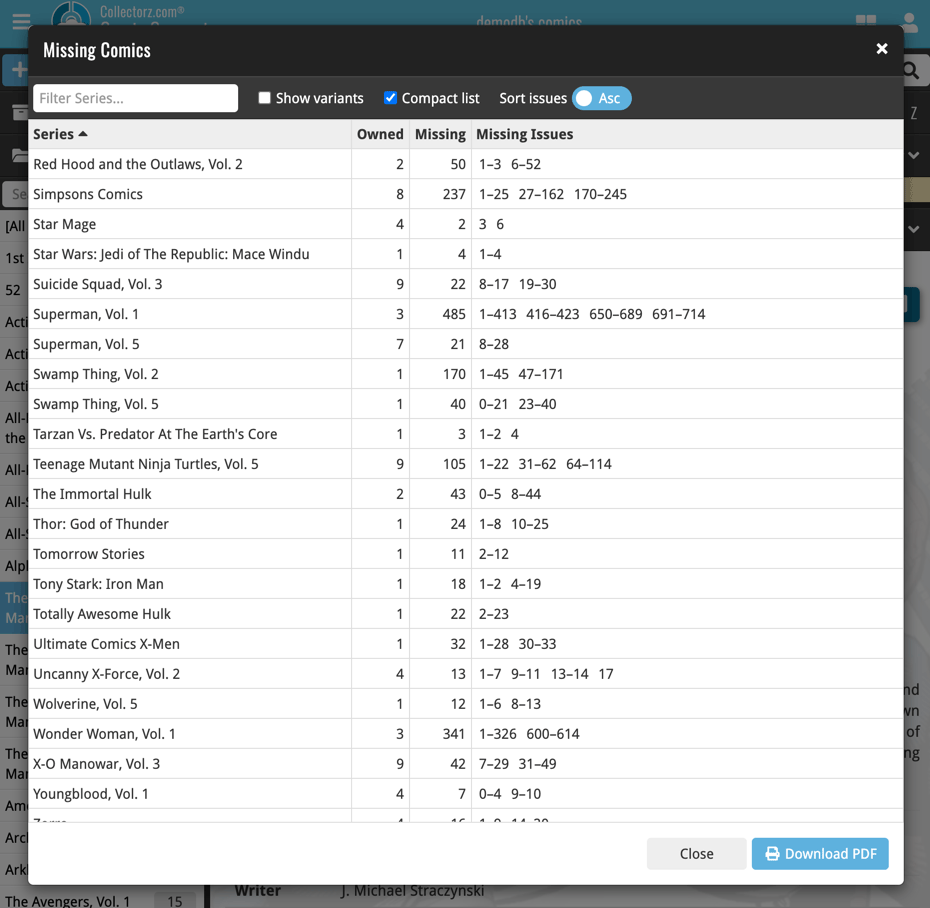
Use the checkboxes and sort toggle at the top to:
- Show or Hide missing variants.
- Switch between a compact list and a verbose list. (the compact view lists missing comics in “ranges”.)
- Order the missing issue lists in Ascending or Descending order.
New “Find Missing Comics” link in the Collection / Wish List summary panel:
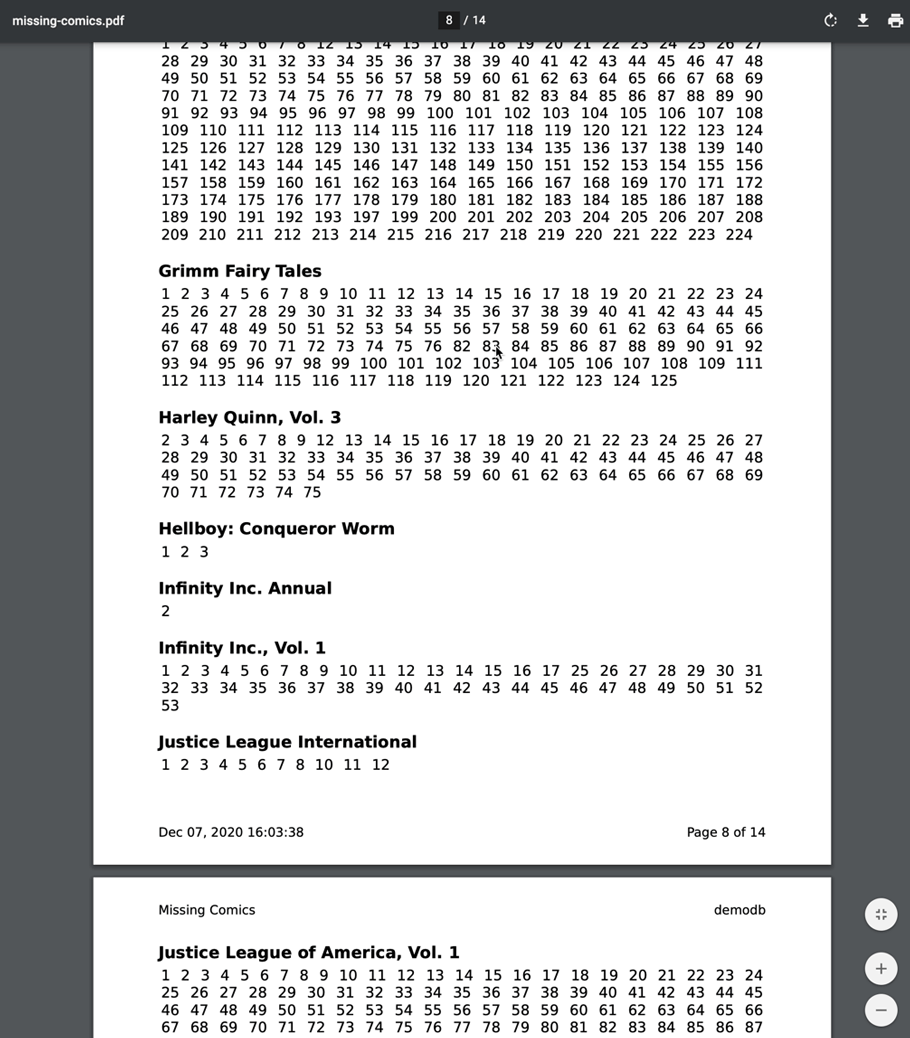
Use the button on the bottom right to download a nice PDF file that you can print off, for taking with you to the store or to a show:
In the Add Comics screen, when searching for a comic “By Series Title”, you are sometimes getting so many series results, that it can be hard to find the exact comic you have in your hands. You may find yourself expanding series after series, to find the issue you need.
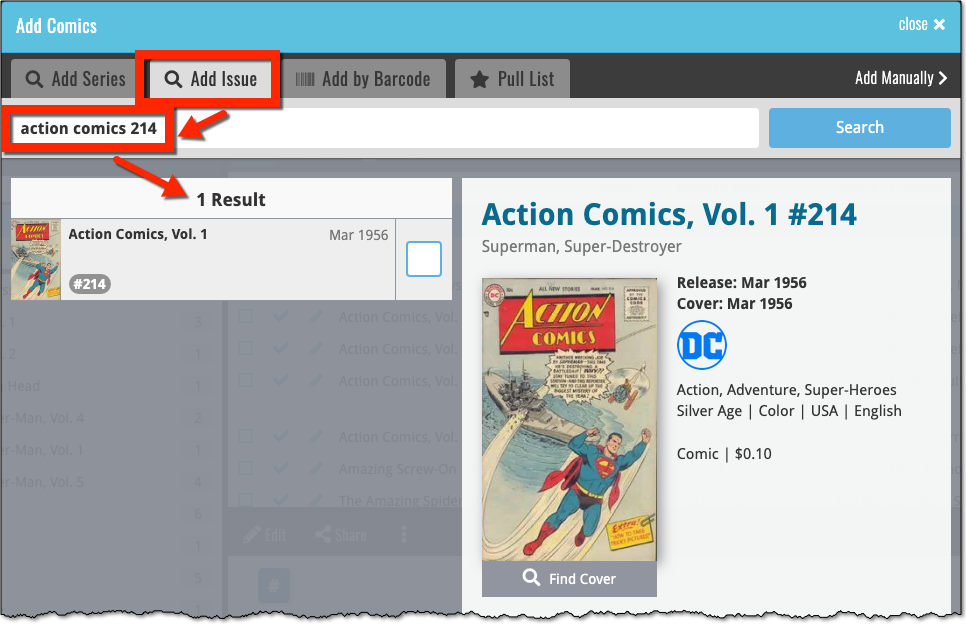
But not anymore, as today’s update will make this a lot easier: Just use the new “Add Issue” tab in the Add Comics screen to search by Series title AND Issue number in one go.
E.g. search for “iron man 17” and it will instantly show you a simple flat list of all issues 17 of matching Iron Man series.
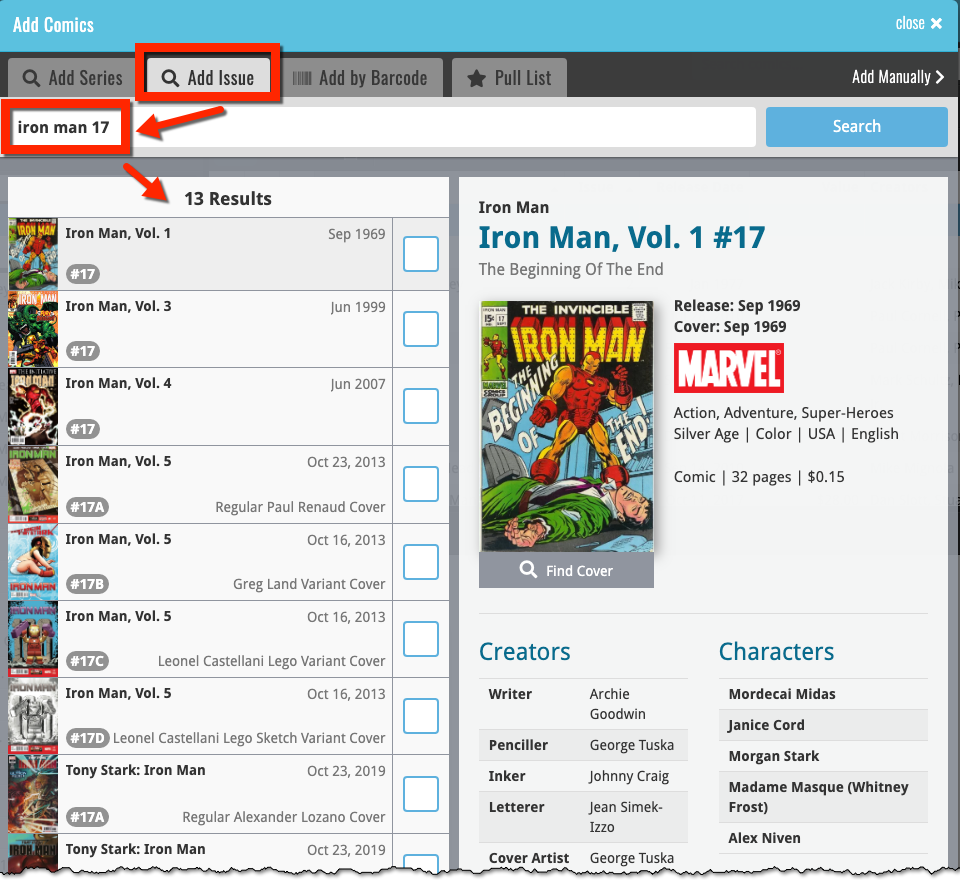
Note that the list of matches will automatically be a lot shorter, because the results will only include the series that actually have the issue number you are looking. For example, search for “action comics 214” and it will instantly give you the exact comic you are looking for:
Since we introduced the Update Values from Go Collect feature, one of the most common questions we received at customer support has been:
After I update the values for my comics, is there any way I can see which comics have been updated?
So, after one year of having to say “sorry, no that is not possible”, we figured, let’s make it possible.
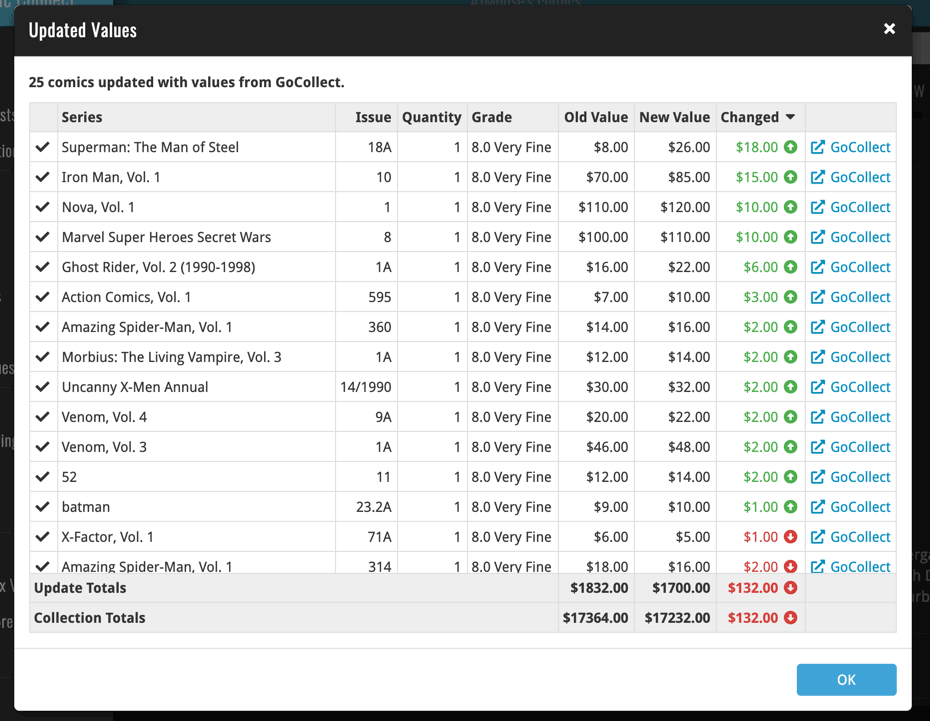
And of course, we went way beyond just showing which comics have been updated. As of today, after you run Update Values, you will get a nice “Updated Values” report, showing you:
- which comics have been updated
- their previous values and the new values
- the value change, in green when increased, in red when decreased
- links to GoCollect to see further historic values
- total value changes for the updated comics and for your entire collection
Last week we implemented several small improvements to the Connect software, based on suggestions (and complaints) from you all, our loyal users:
Configurable Date Format for Edit screen
Two months ago, we introduced a Date Format setting to control how dates are displayed throughout the Connect software. But the date editors in the Edit screen still always used “yyyy-mm-dd” as the format. Which could be confusing to some users.
So in the Settings screen, under Editing, we have now introduced a new setting, specifically for controlling the order of the year, month and day boxes in the Edit screen:

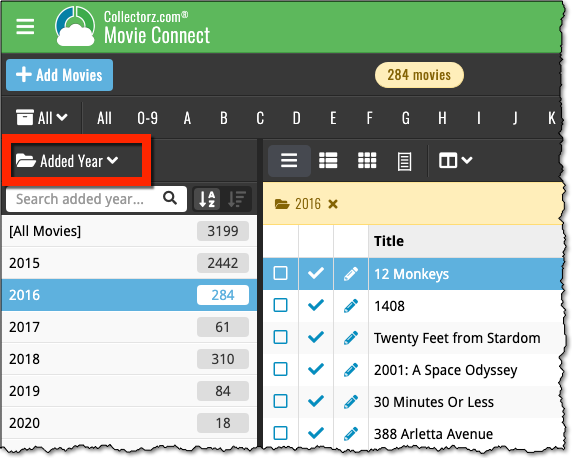
New “Year” options for folders, colums and sorting
Some dates were already available as Year-only options for folders, columns and sorting (like Release Year, Publication Year, etc…), but we have now updated the available options to include ALL date fields as Year-only options, for example:
- Added Year
- Purchase Year
- Seen it Year
- Read it Year
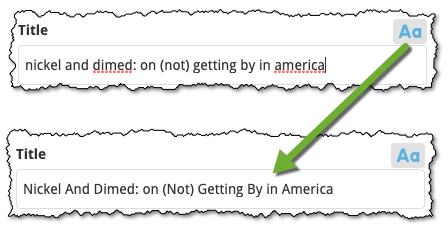
Improved Auto-Capitalization feature
Small tweak for the Auto-Capitalization tools: it now correctly auto-caps letters that follow a parenthesis, bracket, square bracket, single quote or double quote.
More Totals in Statistics screens
The Statistics screen has been updated with more Totals at the top, e.g. for Purchase Price, Current Value.